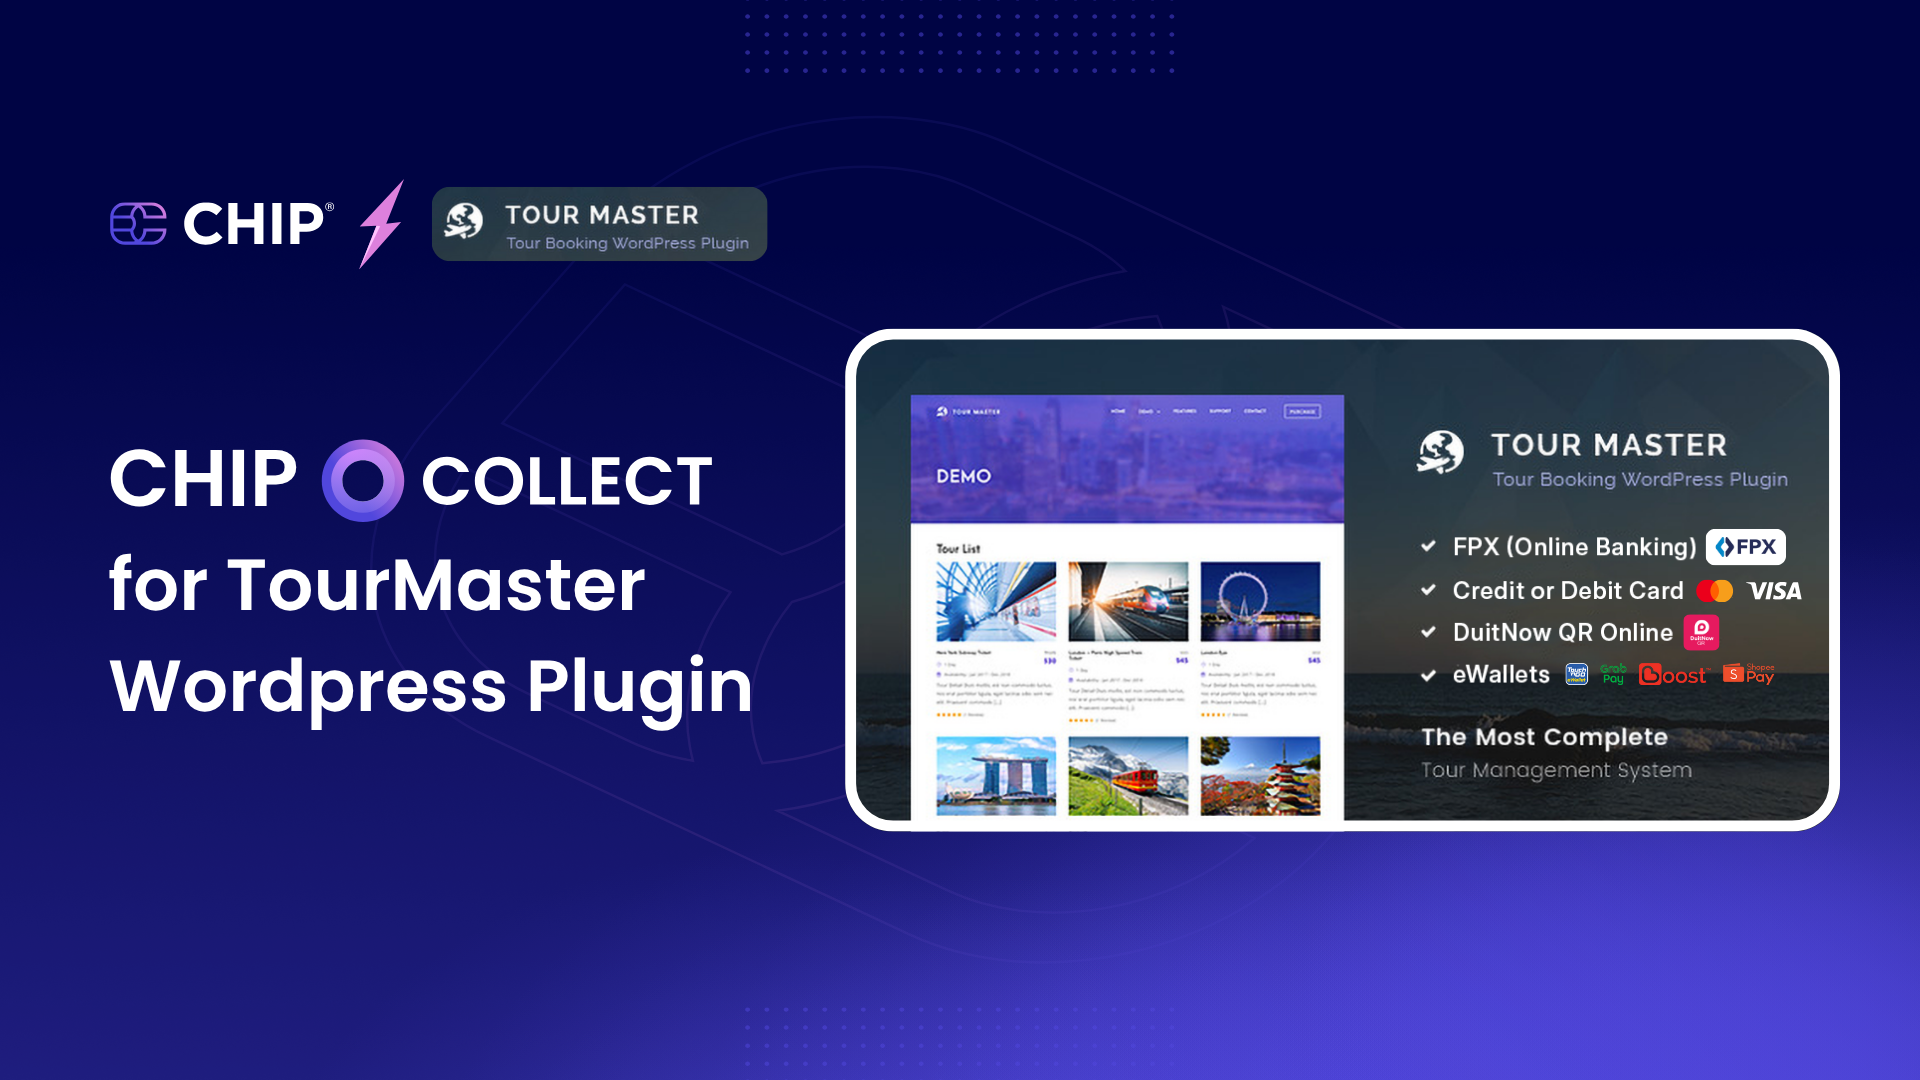
If you’re running a travel business or offering tour packages online, delivering a smooth booking experience can make or break your sales. That’s where the Tour Master plugin comes in – a comprehensive solution to manage tours, accept payments, automate bookings, and scale your operations with ease.
Sell travel packages like a pro on WordPress. From offering city tour, adventure packages, or weekend getaways, Tour Master helps you to:
- Showcase packages with rich media and dynamic pricing
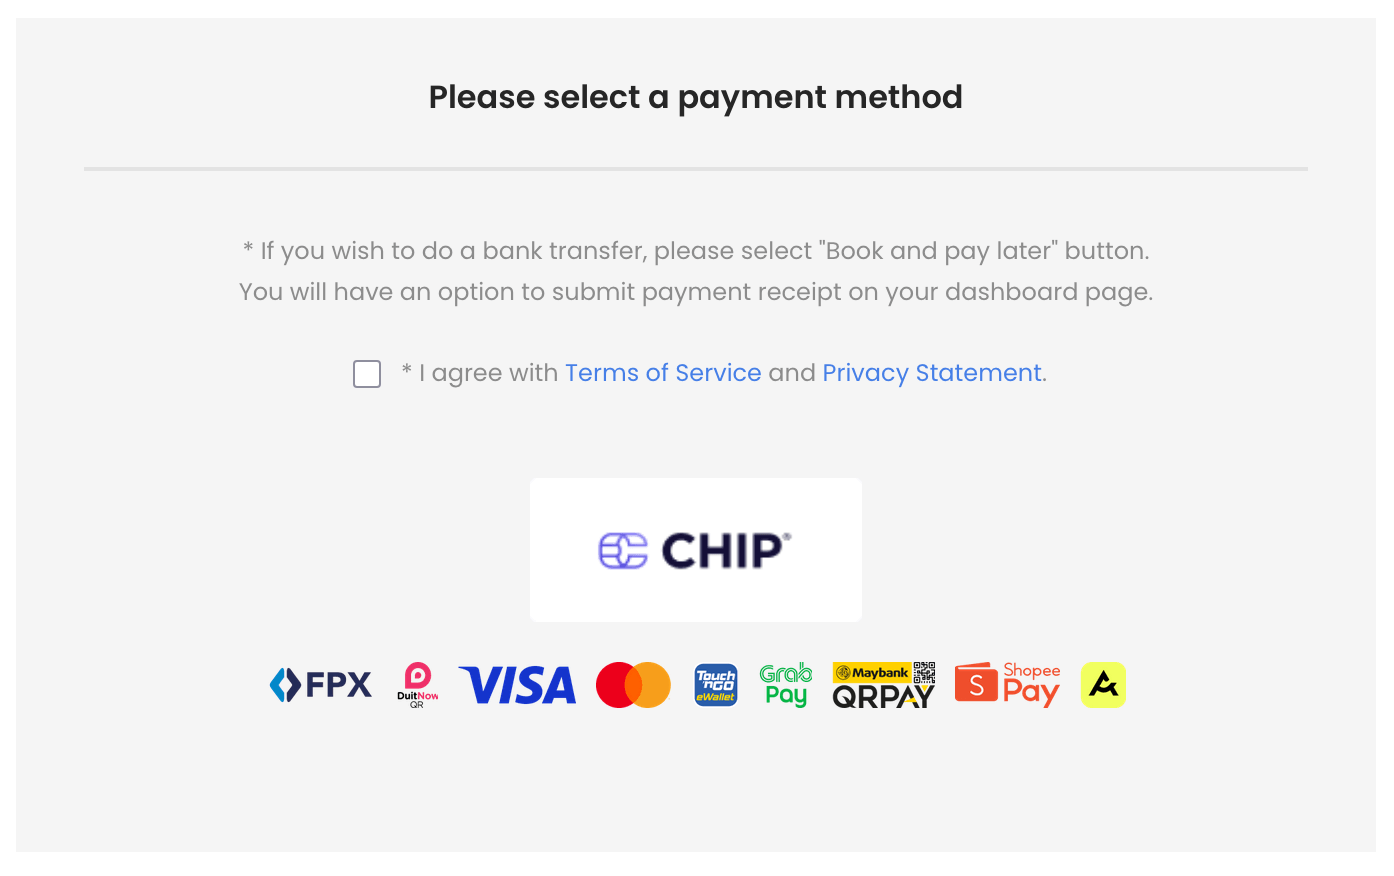
- Accept payments seamlessly through CHIP
- Manage availability, bookings, and customer info in one place
- Automate emails, invoices, and confirmations
Here’s a guide to help you get started and turn your WordPress site into a tour booking engine – no coding required.
Installation and Configuration
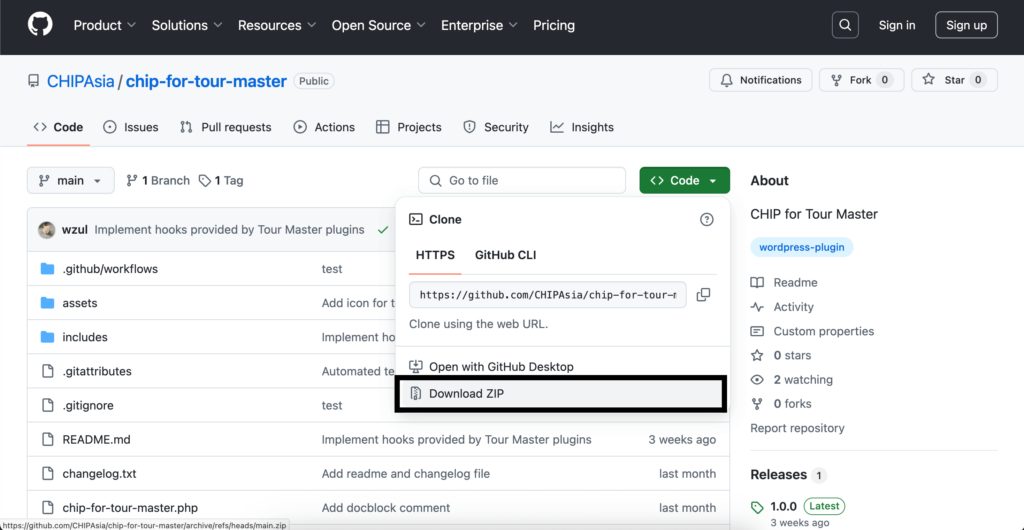
- Download the plugin file for CHIP for Tour Master.
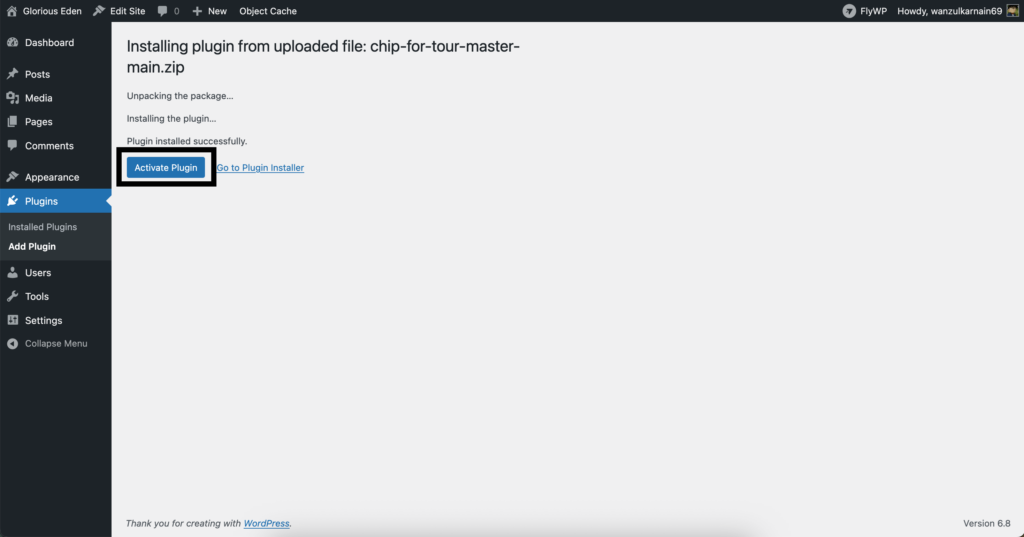
- Upload the plugin file to your WordPress.
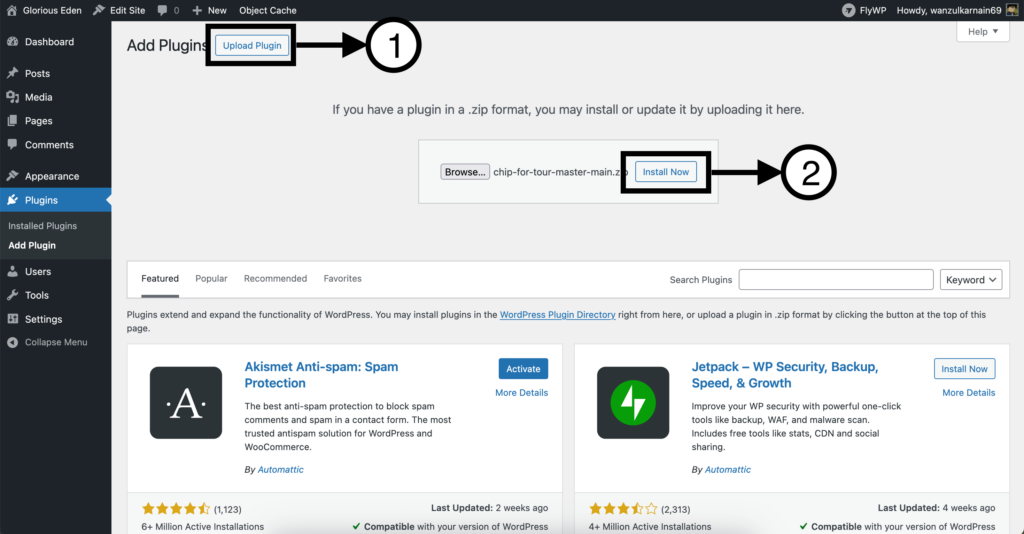
- Activate the plugin after installation.
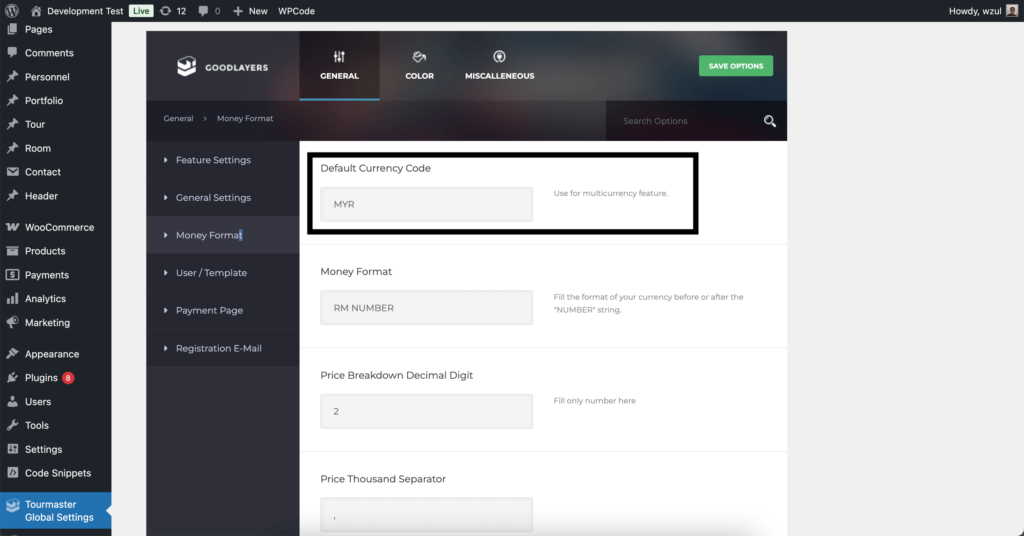
- Ensure the Default Currency Code is set to MYR.
- Go to Tour Settings and click Tour Settings to add packages and tours. Repeat the similar steps for Room Settings if any.

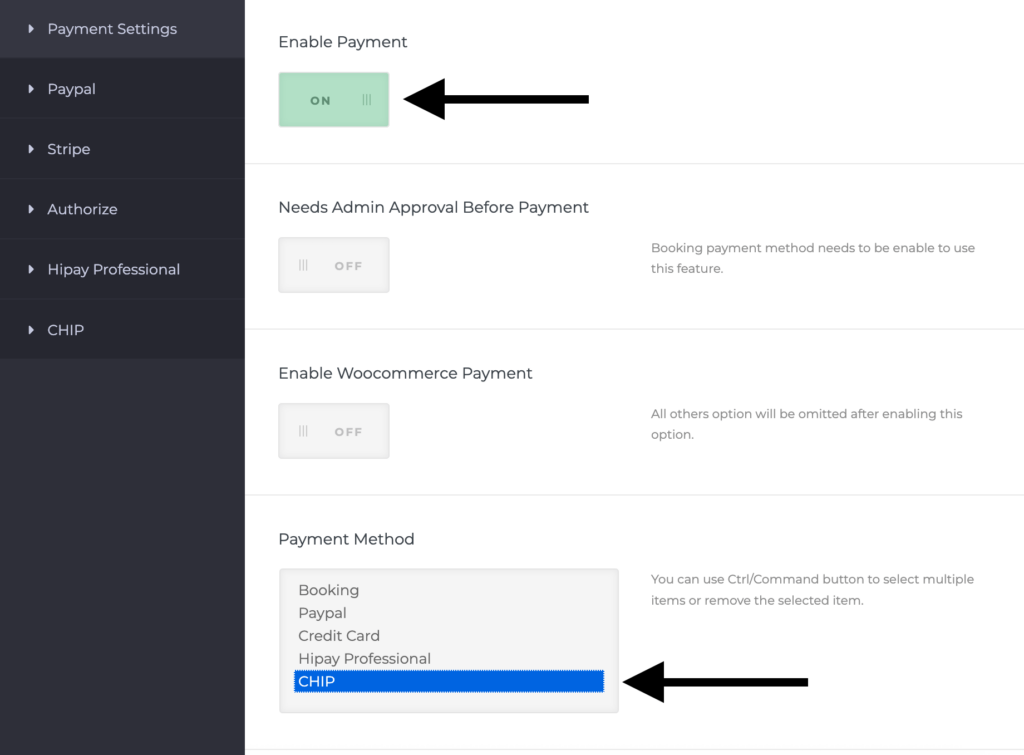
- Navigate to Payment, and then select Payment Settings.

- Toggle Enable Payment to ON and select CHIP under Payment Method.
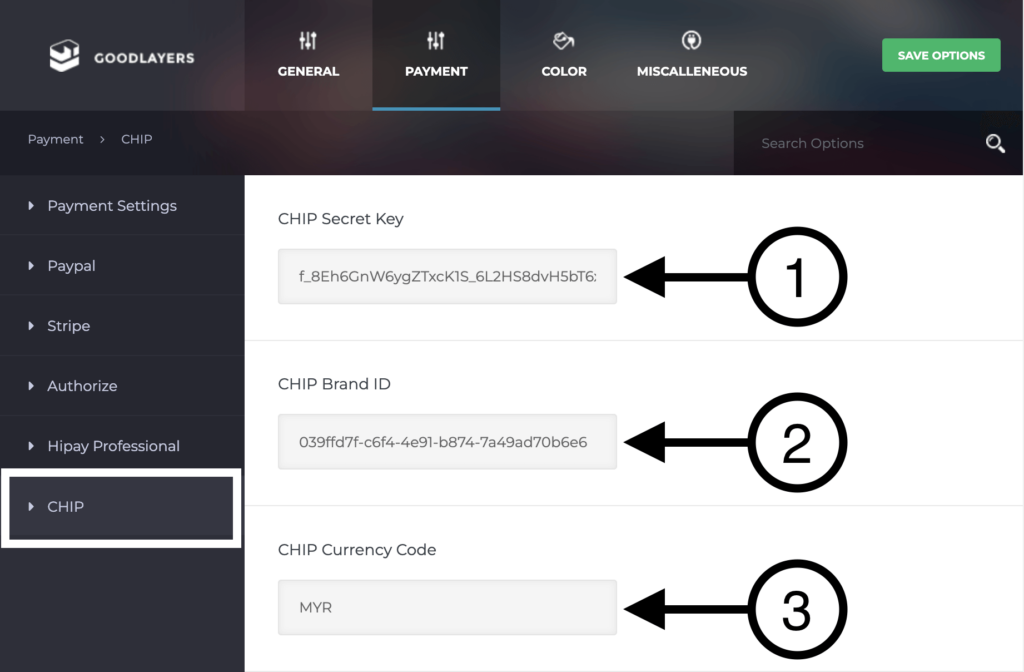
- Go to CHIP and set Secret Key, Brand ID and Currency Code in MYR.
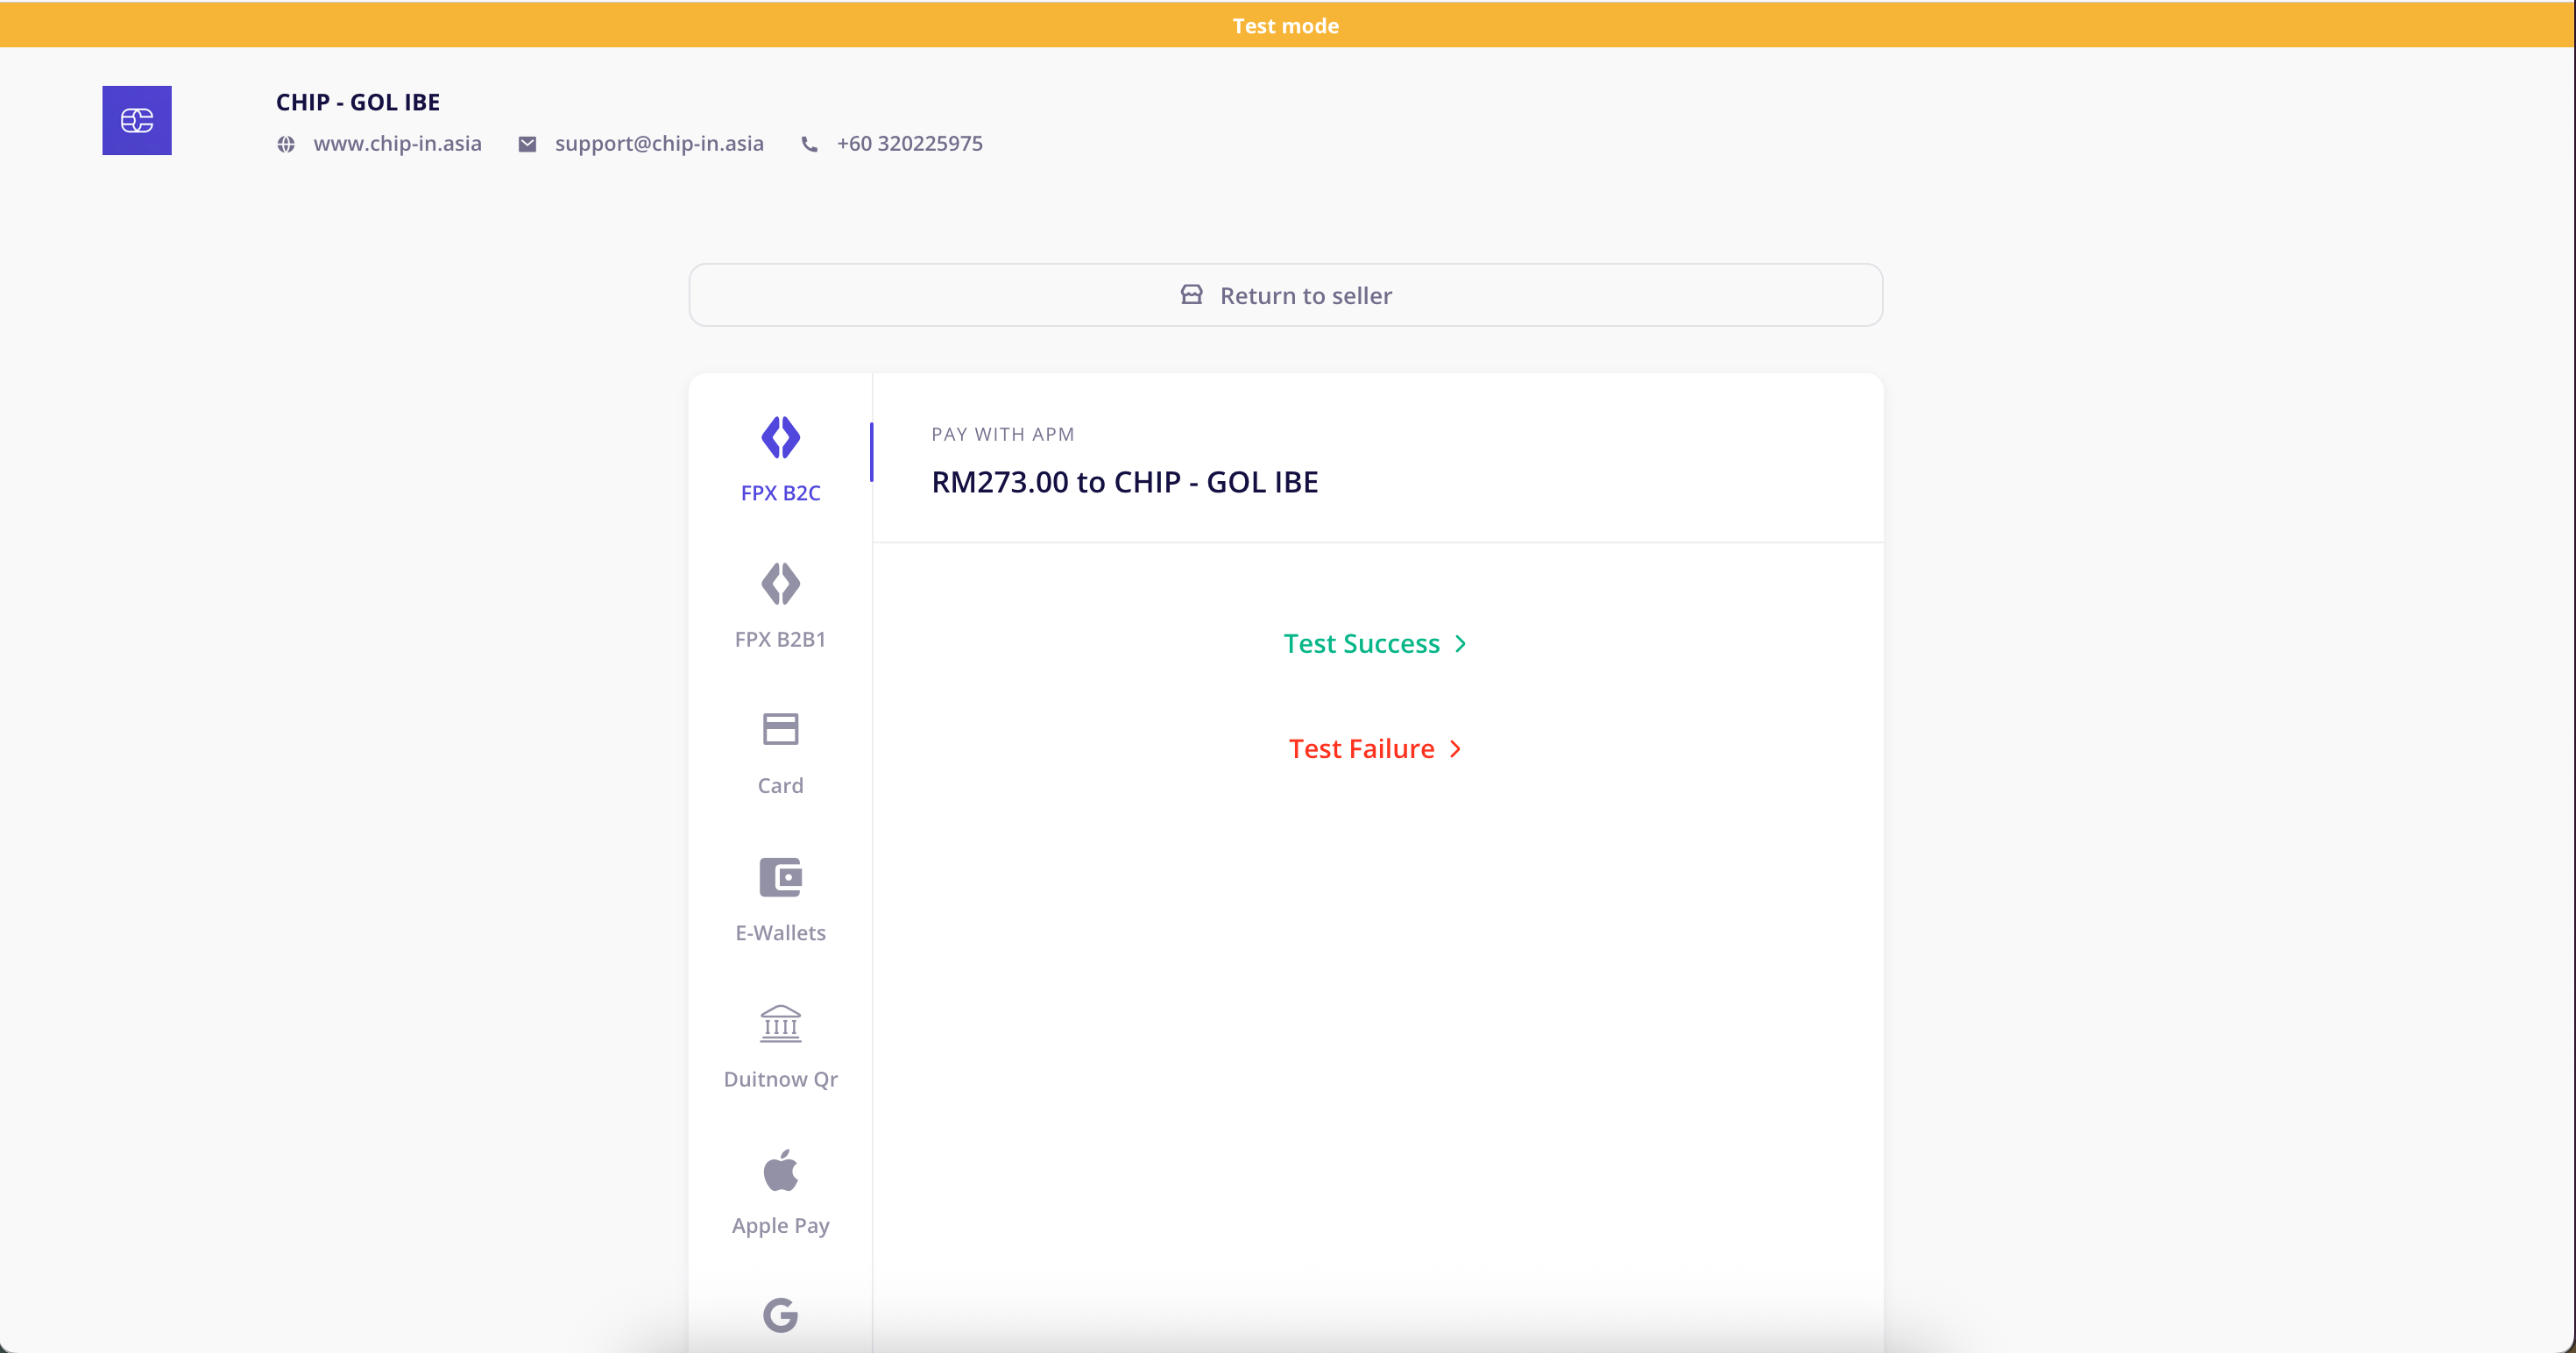
- Conduct a test payment and view your order details.
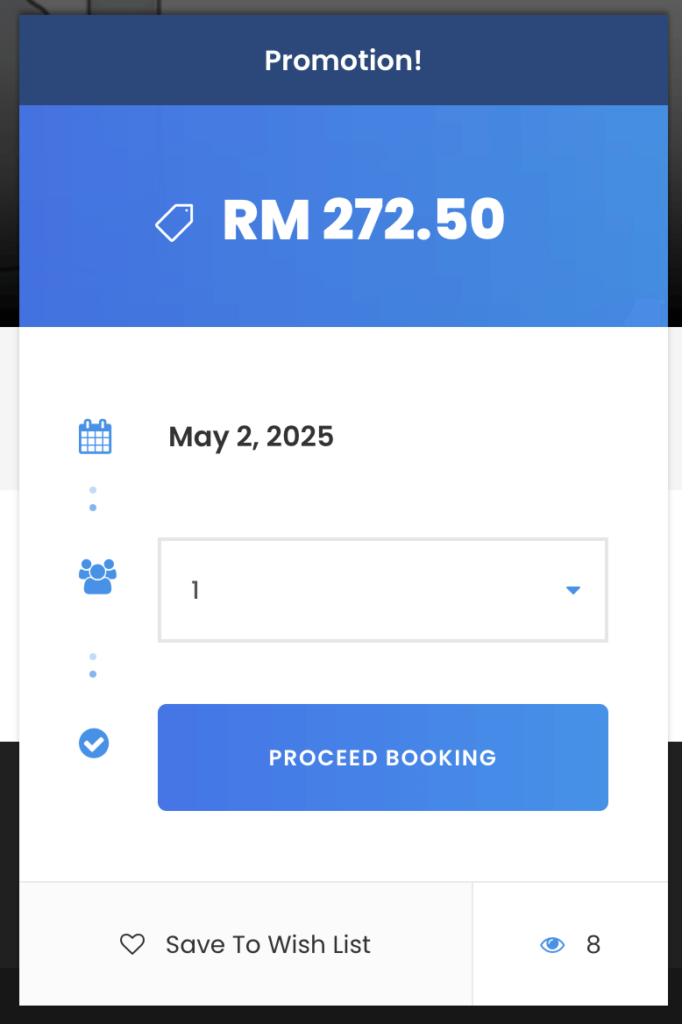
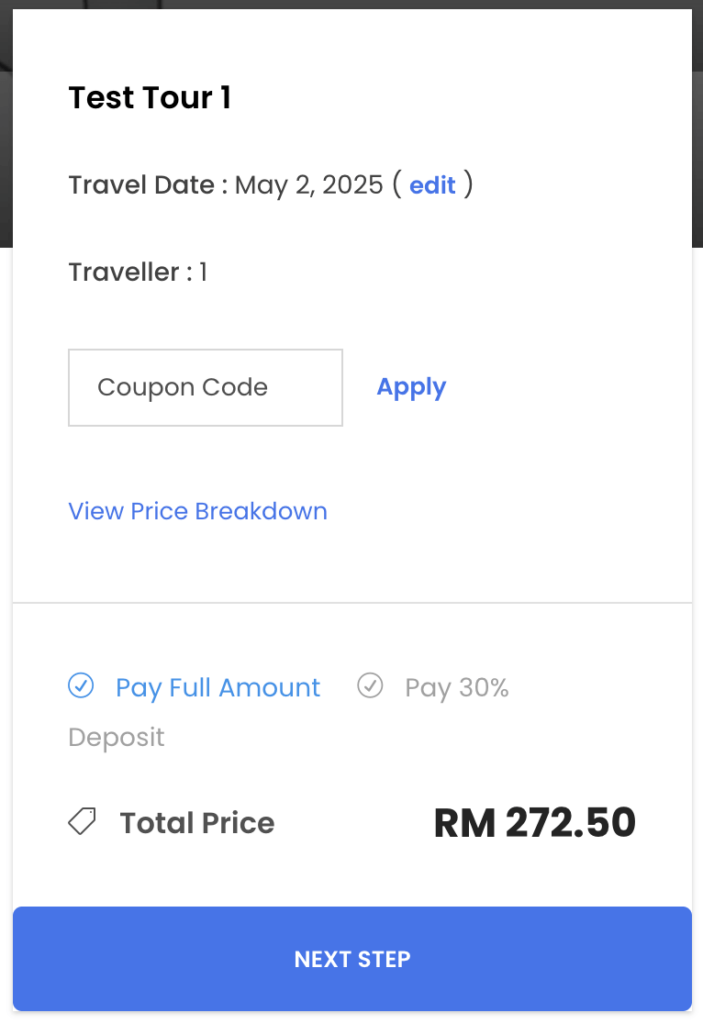
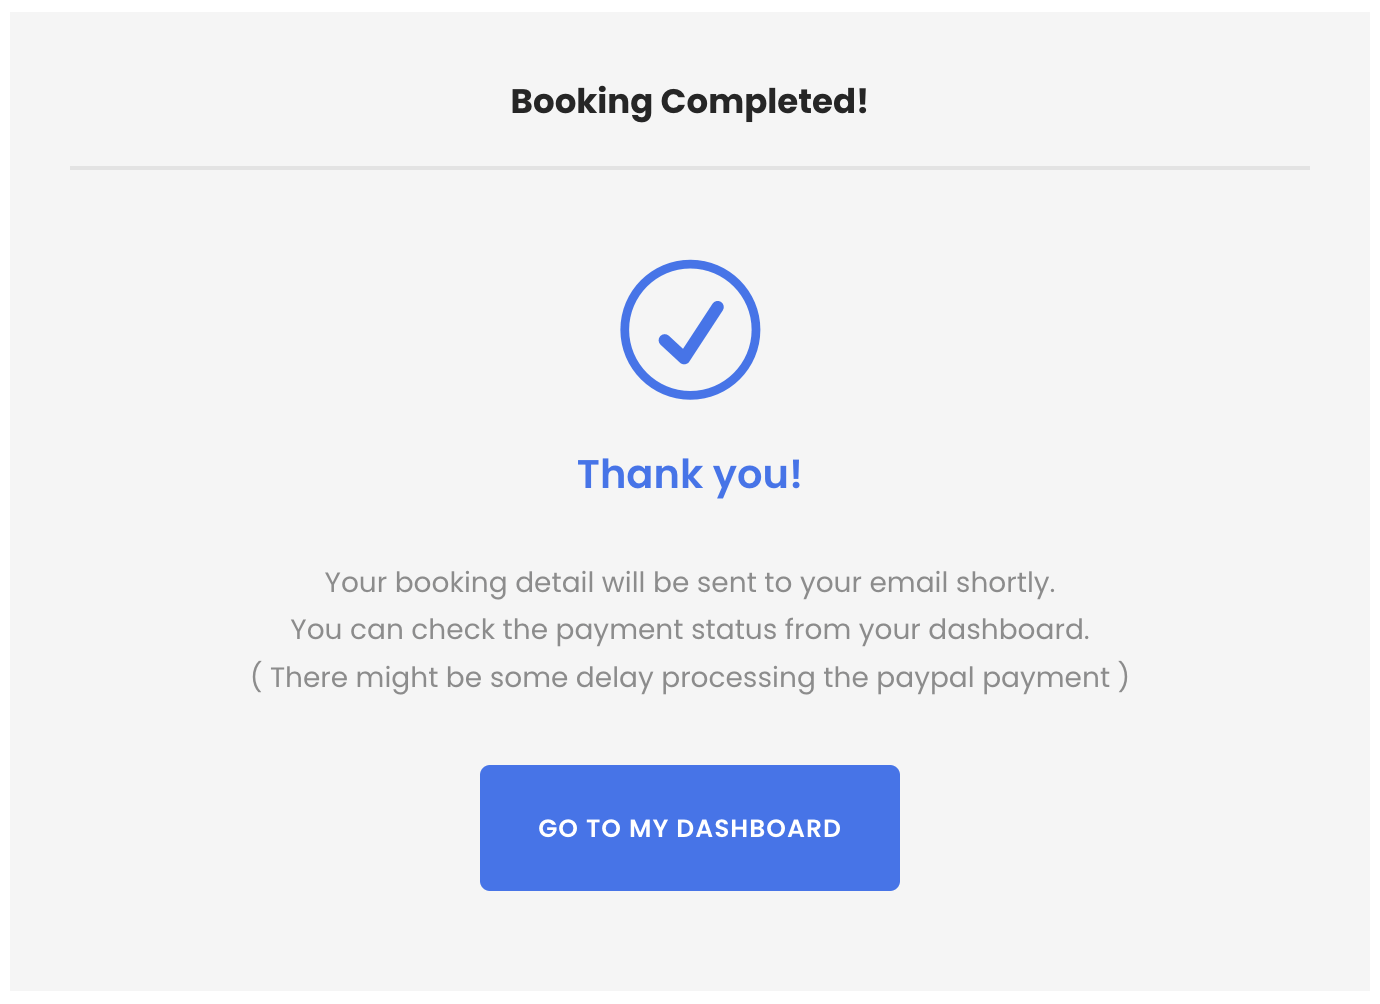
Test Payment Flow

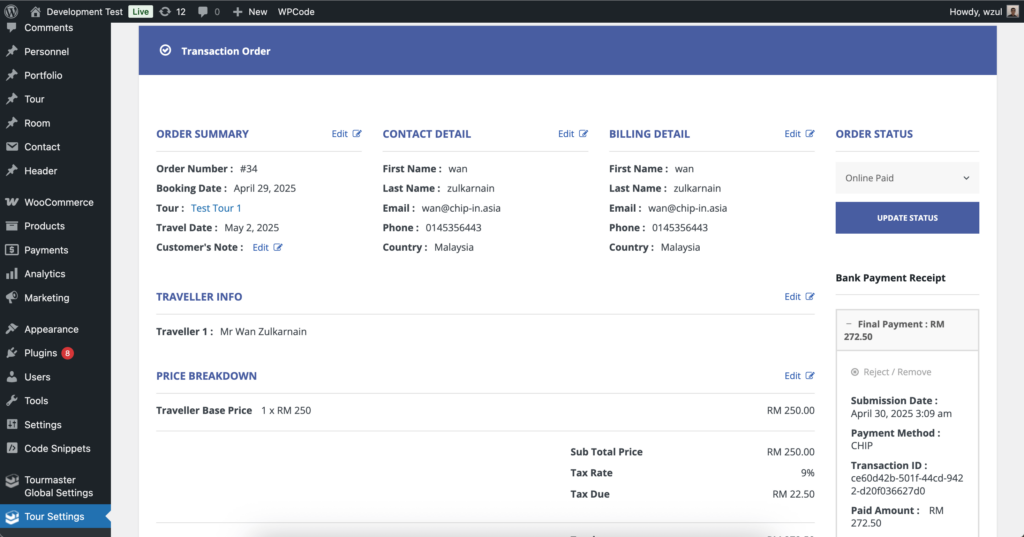
View Order Details
- Go to Tour Settings >> Tour Order.
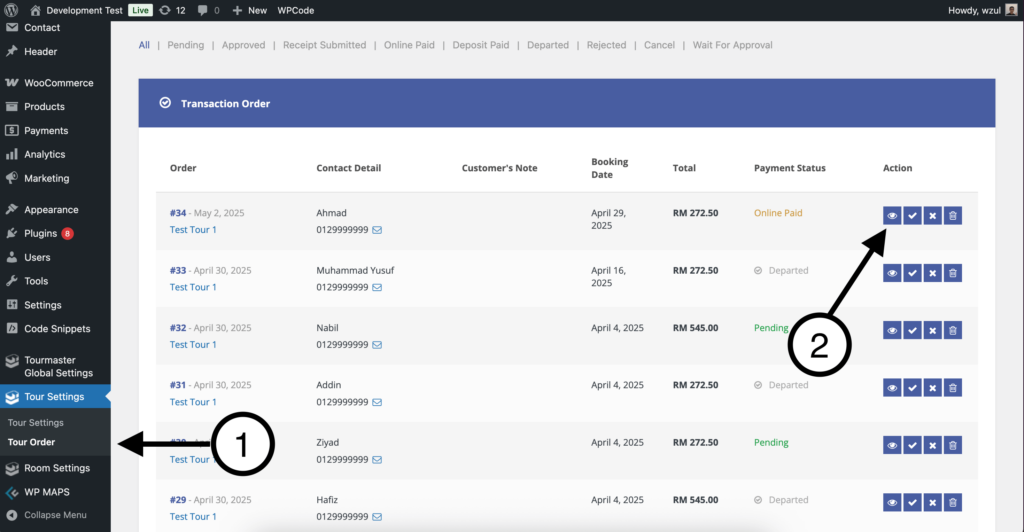
- Click on the View icon to view payment details.
Complete these steps to ensure the integration works properly and payments flow smoothly.