Real-time payment updates are crucial for business operations.
Hence, to get the best user experience out of the CHIP API, we highly encourage you to implement the following methods:
1. Update the order status from return URLs (browser) – CHIP will redirect the user to your specified return URL with response data available in the query URL.

2. Update the order status from webhooks (server-to-server) – CHIP will send you event updates based on events you’ve selected during the webhook setup.
By implementing these, your system will get updated from the fastest available method.
Improve reliability
Indeed, most of the time, the frontend/browser updates from a return URL are sufficient.
Yet, there are cases where a return URL fails to receive updates. Some of the most common reasons behind the failure are:
- The customer closes the browser after paying; before being redirected to your payment receipt/confirmation page.
- The customer loses mobile internet connection due to mobility.
- Unstable internet connection.
Setting up webhooks in the CHIP Merchant Portal
First, you need to login into your CHIP Merchant Portal. Navigate to Developers > Webhooks, and click New live webhook.
You can name the webhook (for your future reference), add your callback URL and select the events you wish to subscribe to.
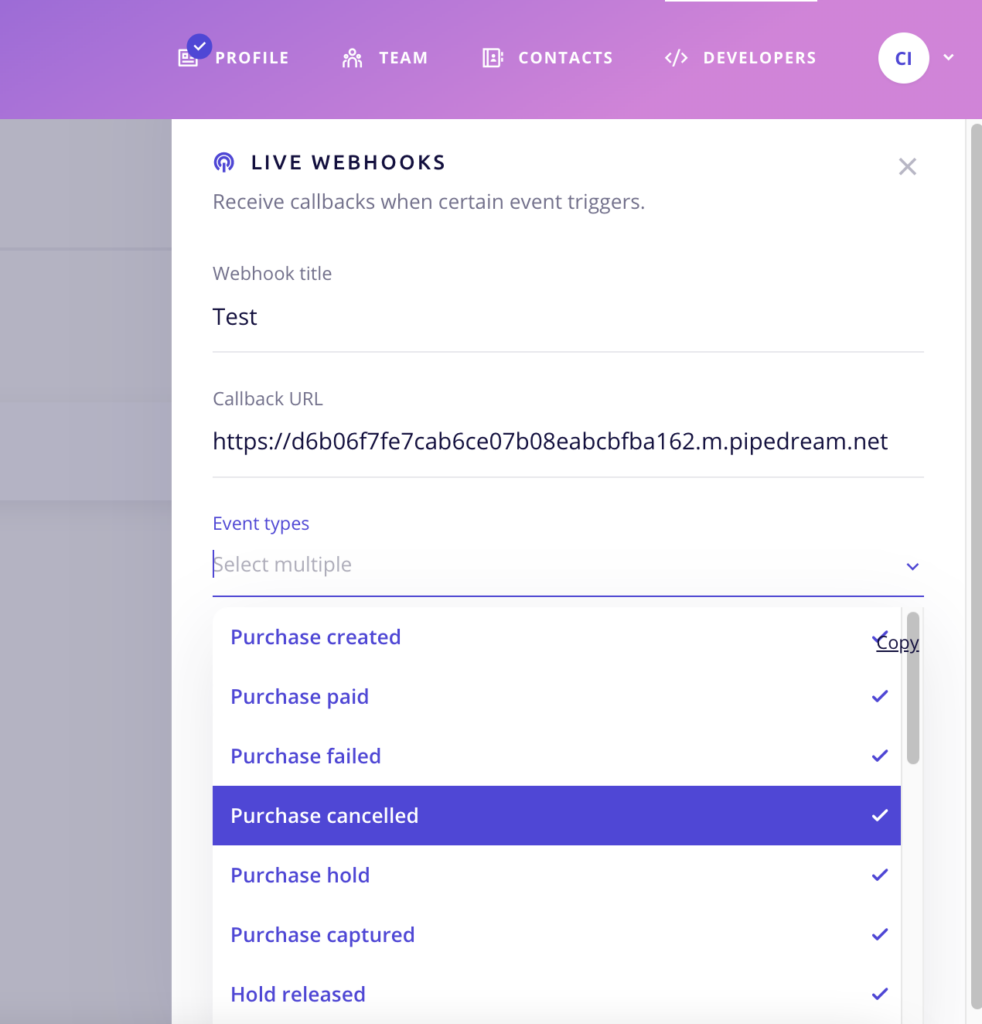
Then, click Create.
Once the webhook is ready, CHIP Merchant Portal will generate a Public Key for later use. Copy the Public Key, and store it in your server.
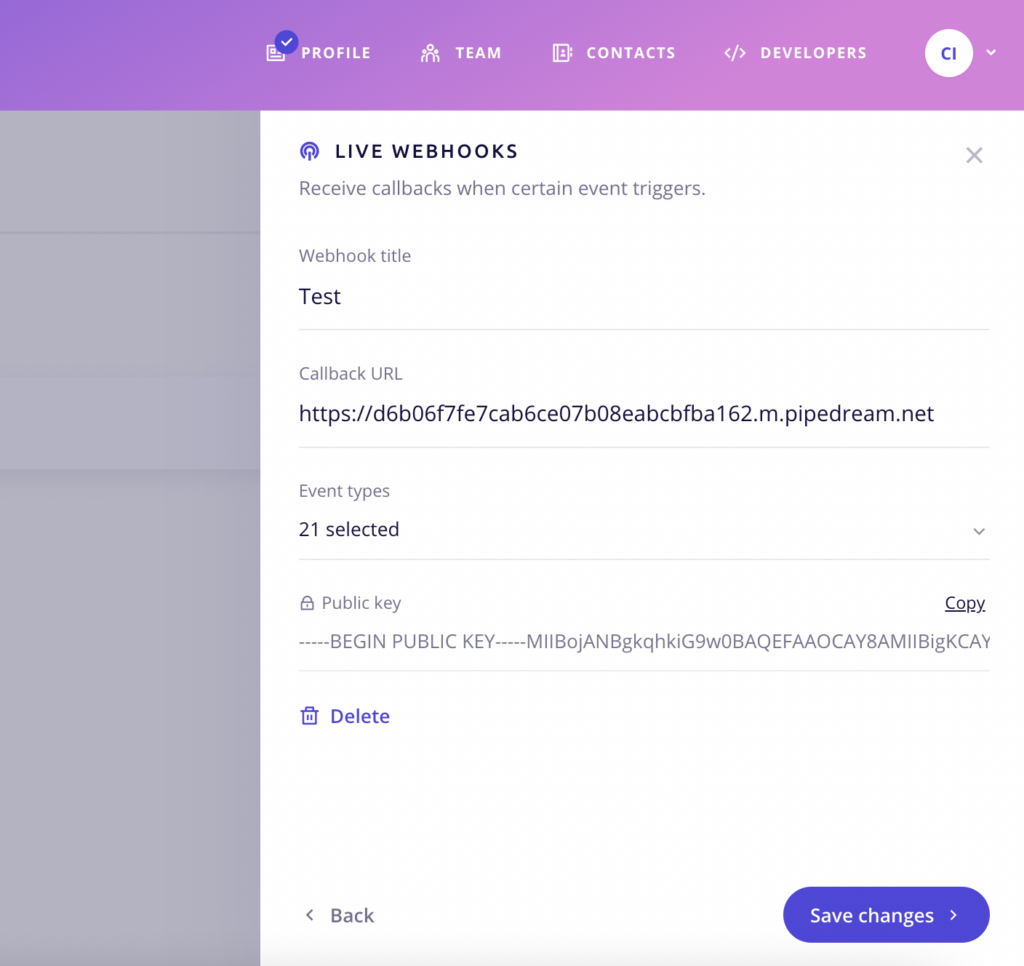
Note: You will only receive callbacks for the subscribed webhook events. You can edit the webhook if you wish to change the event selection.
Setting up your callback controller
Now you need to set the endpoint to receive the webhooks from CHIP.
This endpoint should be public. However, a publicly available endpoint will invite unwanted or unrecognizable incoming requests.
To filter the requests, some developers practice whitelisting IP addresses of the callback servers, which is a challenge for cloud-based dynamic IPs.
Hence, we feel that the most scalable practice is verifying the authenticity of the incoming requests.
To ensure you only process the requests from the CHIP API webhook, you’ll need to implement our X-Signature checking.
All payloads from CHIP API are signed using public-key cryptography to guarantee the authenticity of the delivered callbacks.
Each callback delivery request includes an X-Signature header field. This field contains a base64-encoded RSA PKCS#1 v1.5 signature of the SHA256 digest of the request body buffer.
Once implemented, all you need to do is check whether the X-Signature matches or is verifiable with the Public Key you stored earlier.
Here are some Ruby on Rails samples to get you started. We will add more to our GitHub soon!
class Webhooks::FeedsController < ApplicationController
  skip_before_action :verify_authenticity_token, :authenticate_user
  before_action :set_request, :check_signature

  def callback
    body = JSON.parse(@raw_post)
    acceptable_events = ['purchase.paid','payment. refunded']

    if acceptable_events. include? (body['event_type']) && !body['is_test']
      # process event
    end

    render json: success_json, status: 200
  end

  private

  def set_request
    @headers = request.headers
    @raw_post = request.raw_post
  end

  def check_signature
    if Rails.env.production?
      public_key_str = ENV['PUBLIC_KEY']
      public_key = OpenSSL::PKey::RSA.new(public_key_str)
      signature = Base64.decode64(@headers['x-signature'])

      if !public_key.verify(OpenSSL::Digest::SHA256.new, signature, @raw_post)
        logger.error "Signature mismatch"
        render json: success_json, status: 200
      end
    end
  end
end
Happy Coding!
We’re always open to content contributions from our community. Join our Facebook Group and share your work or topic ideas to potentially be featured on our blog.
Moreover, if you have suggestions for our upcoming features, we’d love to hear them! Share your Wishlist with us.
Don’t forget to like and follow us on our social media platforms if you haven’t yet. You can find us on Facebook, Twitter, Instagram, and LinkedIn. We appreciate your support! 🙂