Web Host Manager Complete Solution (WHMCS) is a popular content management system among web hosting providers.
It provides features from billing automation, ticketing management, and automatic provisioning.
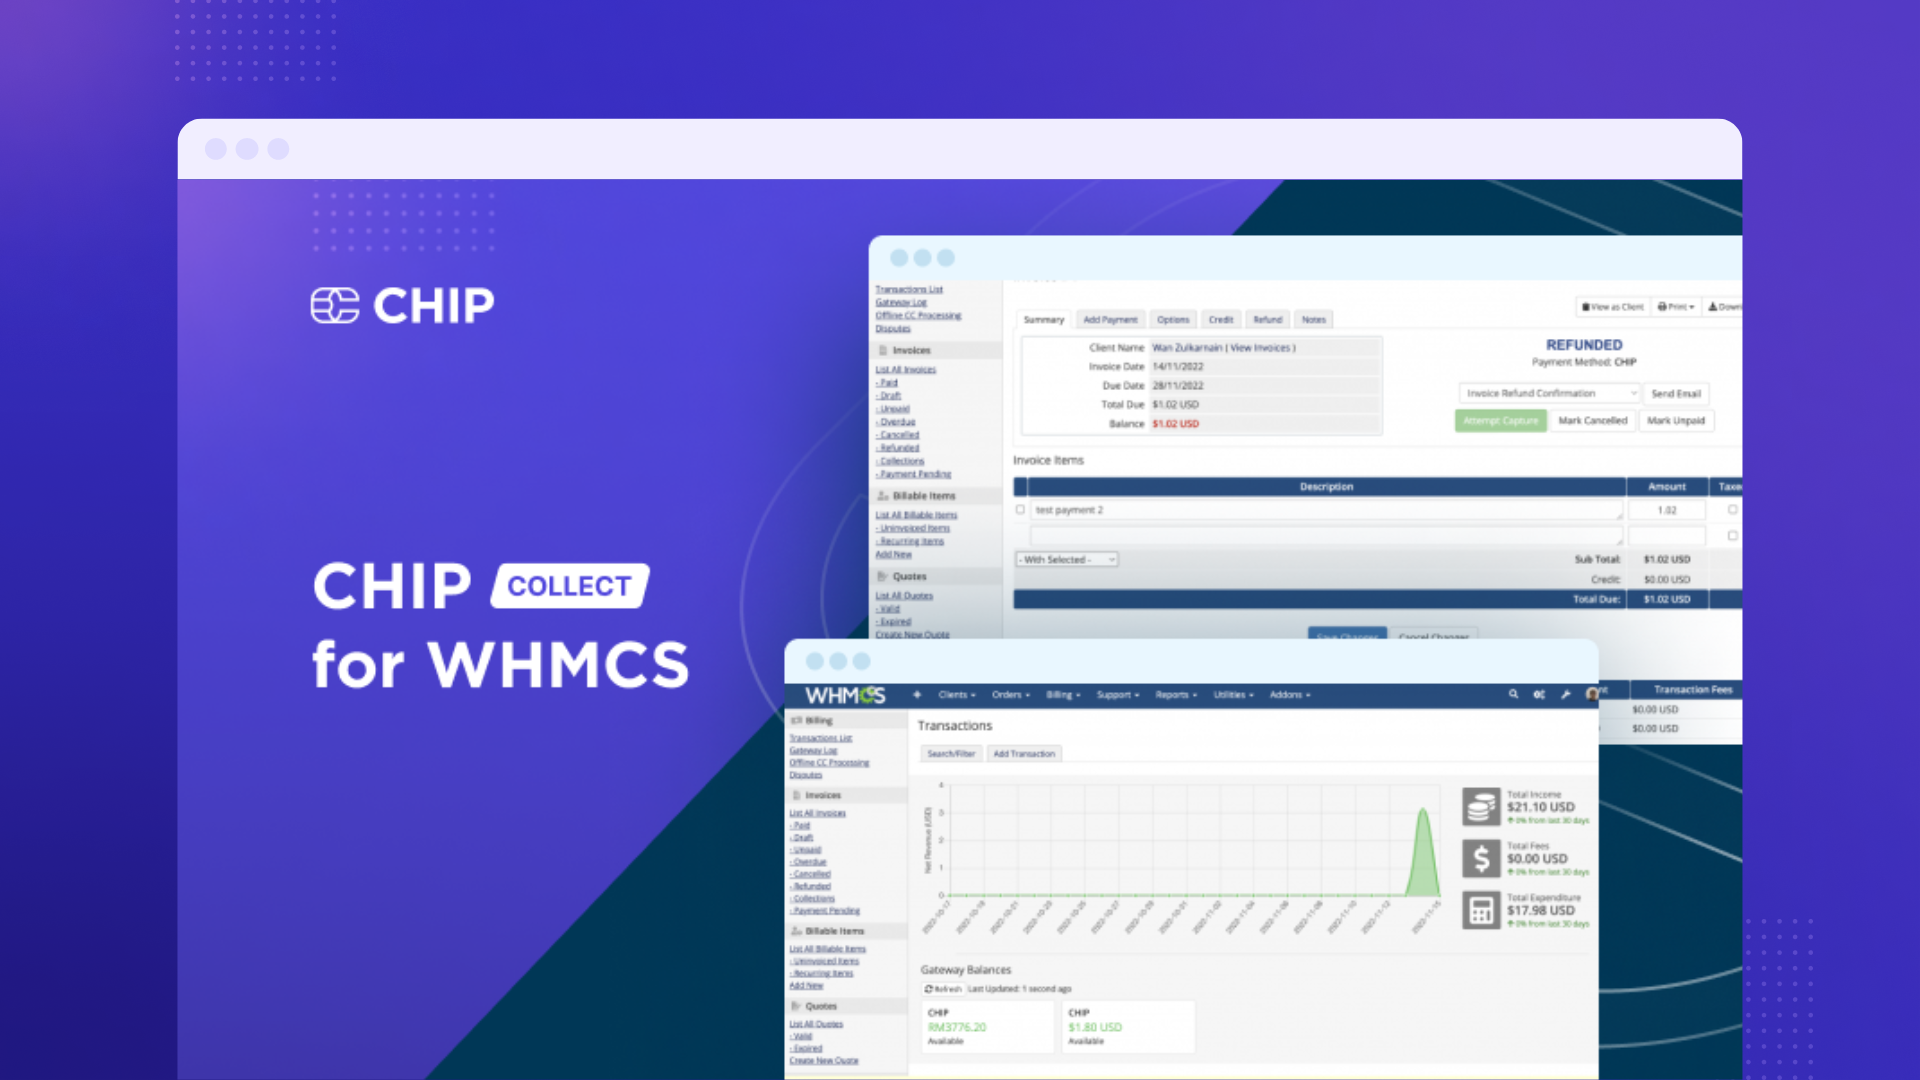
The CHIP Collect module for WHMCS adds the ability to collect & refund payments and to view account balances directly from the WHMCS interface.
To enable CHIP as the payment gateway for your WHMCS installation, you need to install the CHIP for WHMCS plugin.
This article will walk you through the steps to start accepting payment for your WHMCS control panel with CHIP.
Pre-requisite requirements
Before we dive further into installing and configuring the plugin, you need to ensure that your WHMCS installation meets the following requirement:
- PHP (version equal to or greater than 7.4)
- WHMCS (version equal to or greater than 8.0)
Once everything is set, we can move on to the next steps.
1. Install & configure
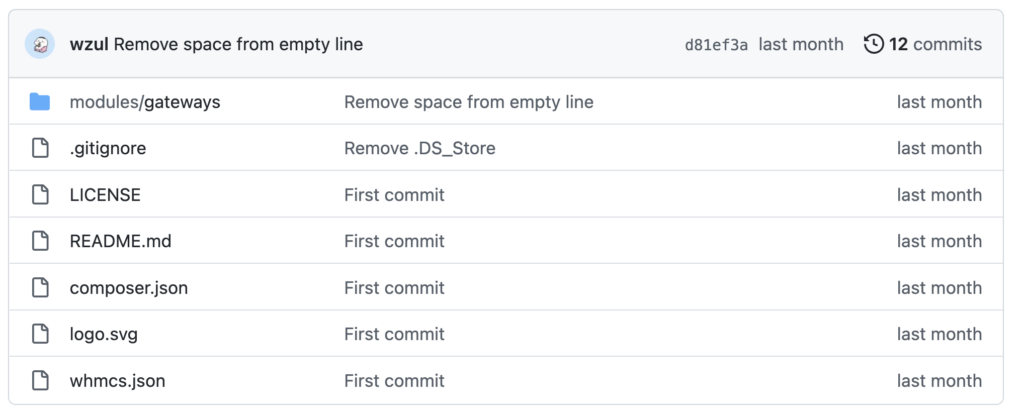
Firstly, you need to download the module from the WHMCS Marketplace. The archive contains files that include but is not limited to:
modules.gitignoreLICENSEREADME.mdcomposer.jsonlogo.svgwhmcs.json
You need to upload the folder modules to your WHMCS root installation directory. You can ignore the other files since those are for the GitHub repository.
After extracting the folder to your WHMCS root installation directory, you should check and verify that each file below exists:
modules/gateways/
callback/chip.php
chip/action.php
chip/api.php
chip/logo.png
chip/chiplogo.png
chip/redirect.php
chip/whmcs.json
chip.php
Next, on your WHMCS Admin, go to System Settings >> Payment Gateways >> Visit Apps & Integration >> Chip. Activate the plugin by clicking the green “Activate” button.
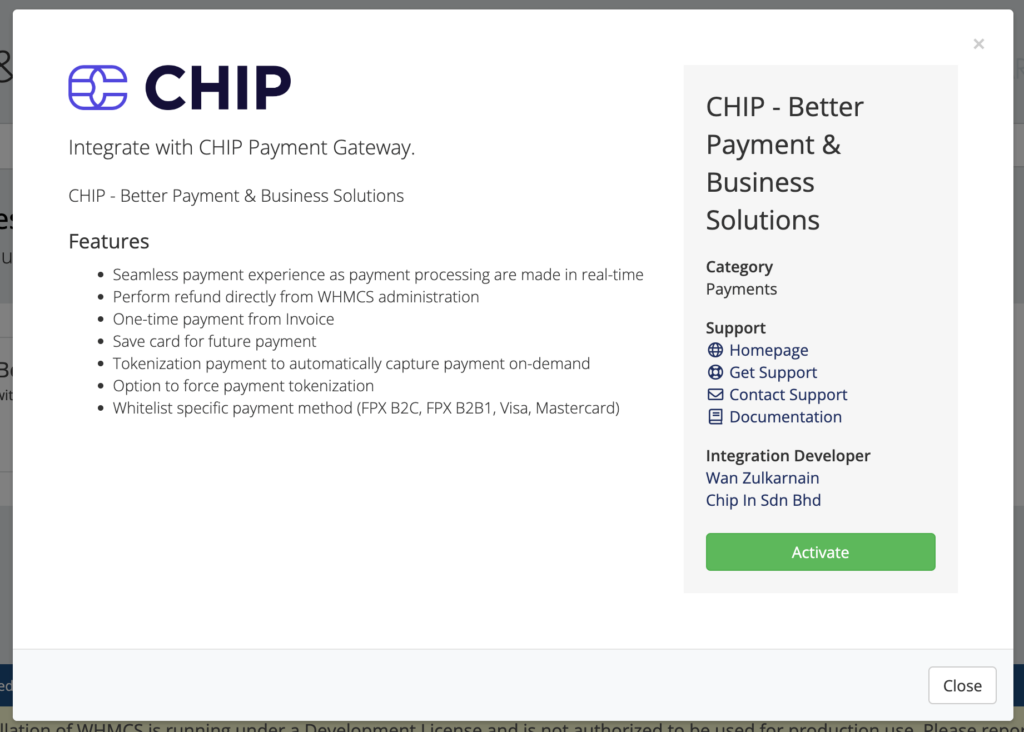
Then, you will be redirected to the Chip configuration page where you need to set your Brand ID, Private Key and Convert To For Processing.
Note: You can obtain the Brand ID and the Private Key from your CHIP Merchant Portal
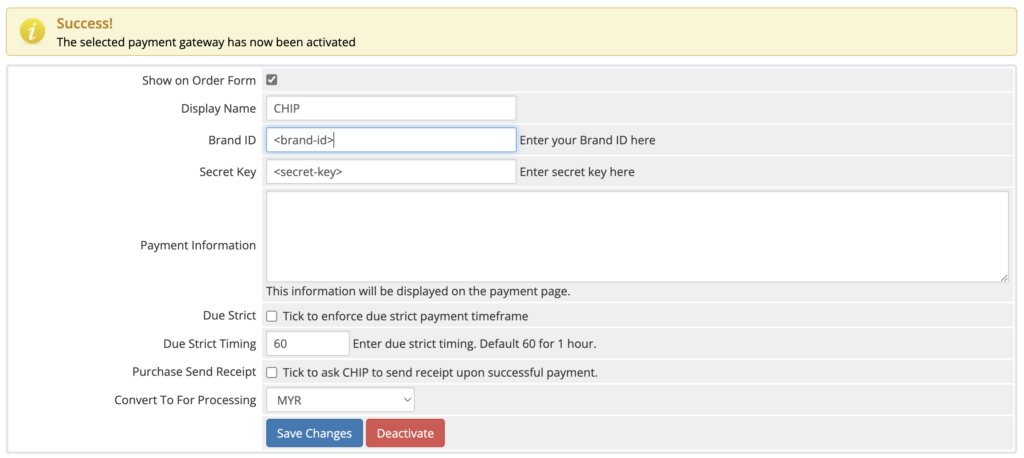
Note: If you run a multi-currency configuration, you must set the Convert to for Processing to MYR, or CHIP payment will be disabled.
2. Test the purchasing experience
We highly advise you to test the purchase and payment flows.
Note: The example flows shown in a development environment where no auto-provisioning is configured. It only demonstrates until the invoice status is updated to Paid.
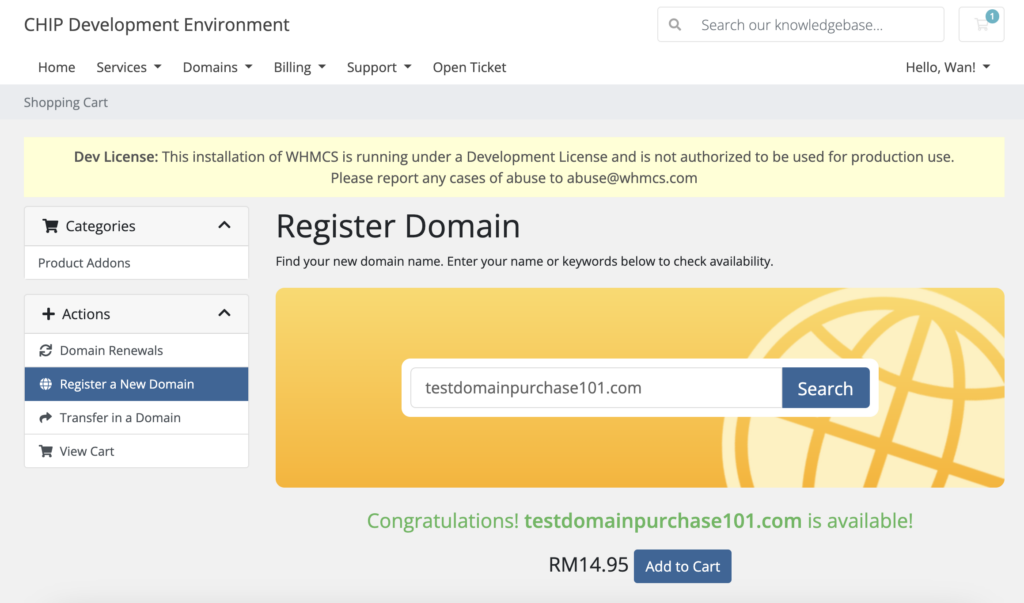
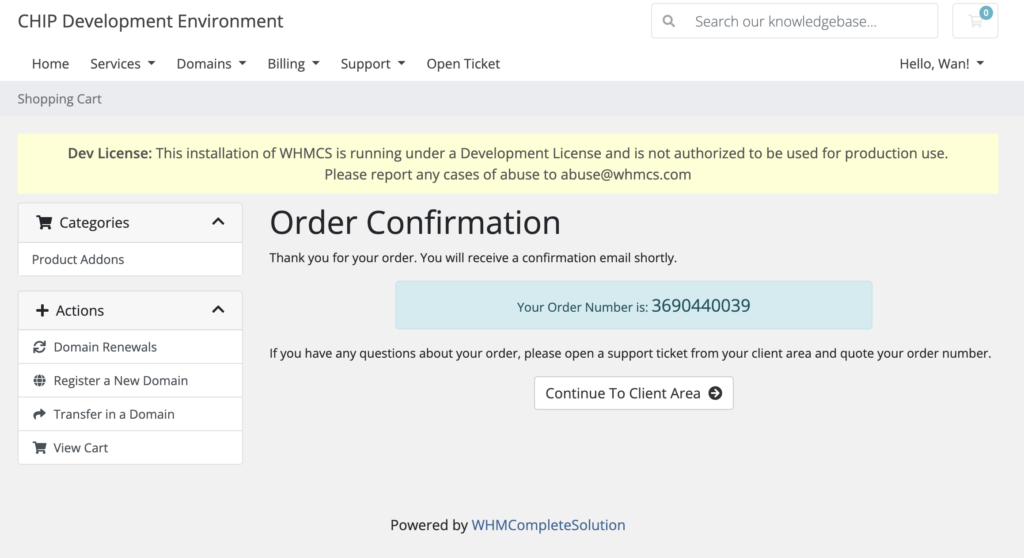
The flow starts with choosing a domain name and clicking the Add to Cart button.
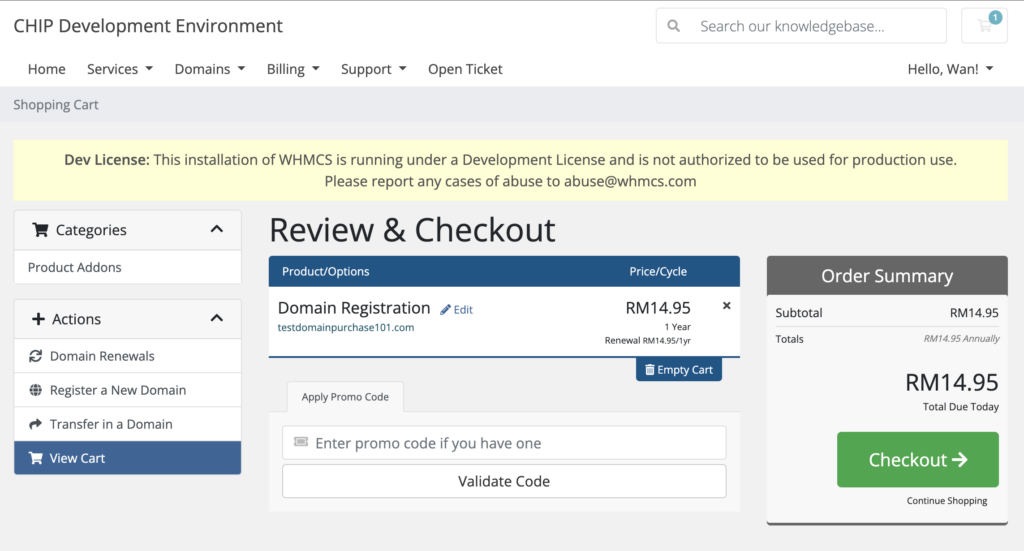
Then, confirm the cart and proceed to checkout, where a buyer will need to fill up the Checkout form. At this stage, we use CHIP as the preferred payment method.

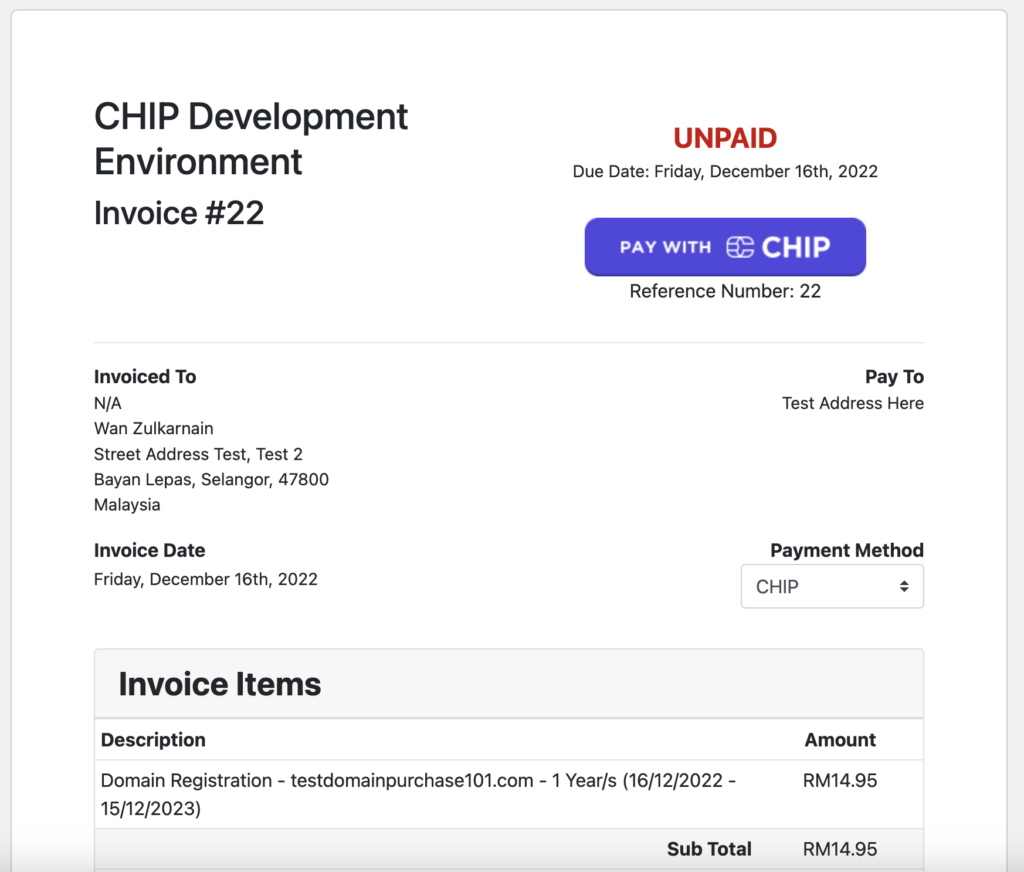
The site will redirect to the CHIP payment page. Since this is a test environment, an option to approve or reject the payment appears instead of choosing an FPX bank or inserting card details.
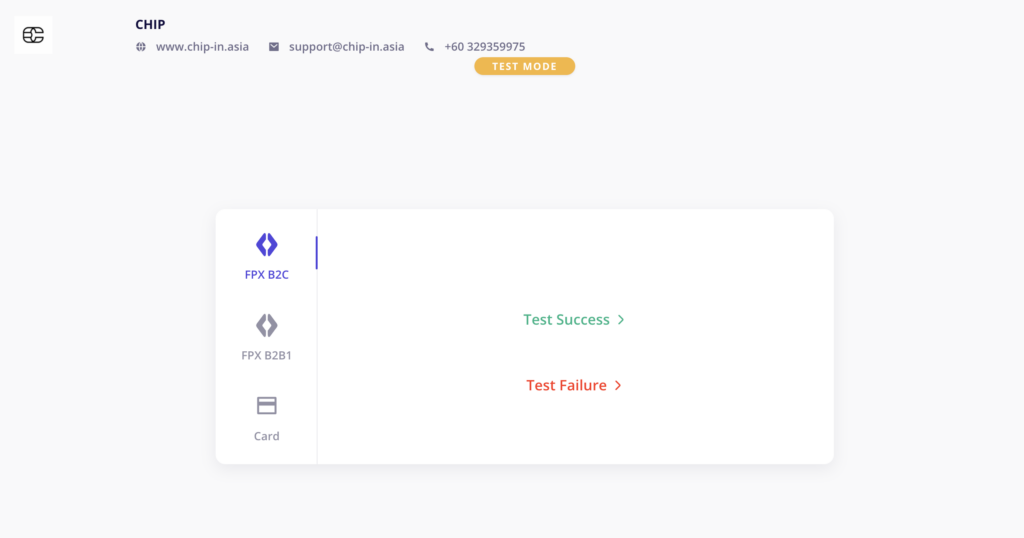
Upon success, CHIP will redirect back to the WHMCS site.
3. Test the refund functionality
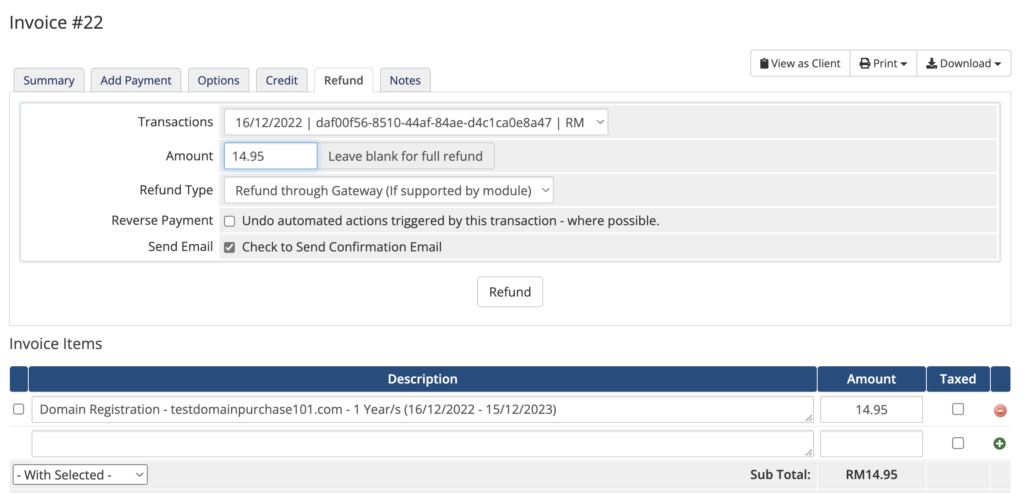
To initiate a refund from WHMCS, navigate to Admin >> Billing >> Invoice.
Choose the amount to refund and choose Refund through Gateway.
Then, WHMCS will display a message indicating the success of the refund.
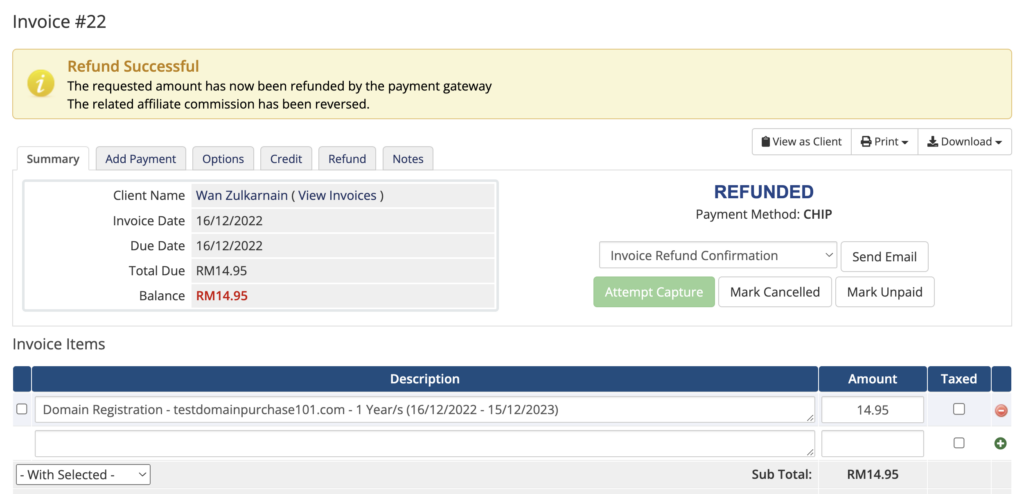
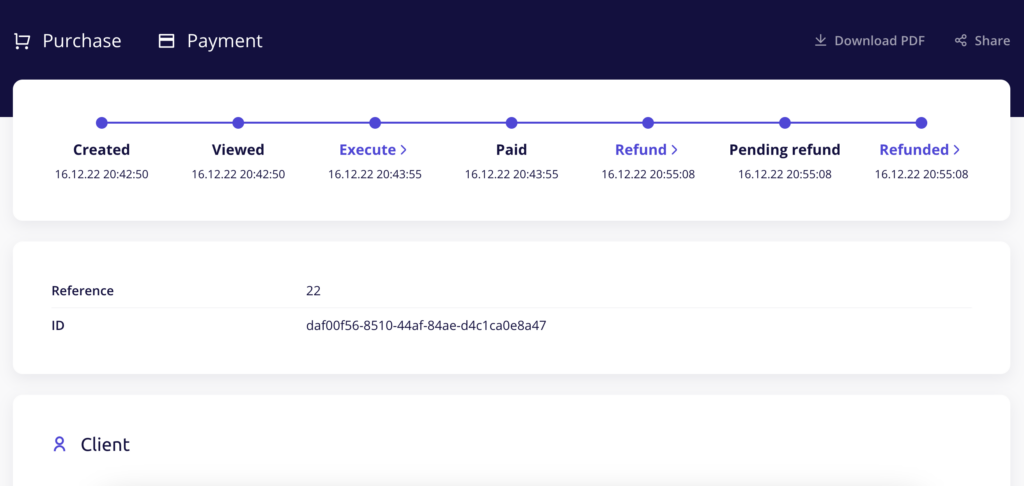
Finally, you can cross-check with the CHIP merchant portal for the refund status confirmation.
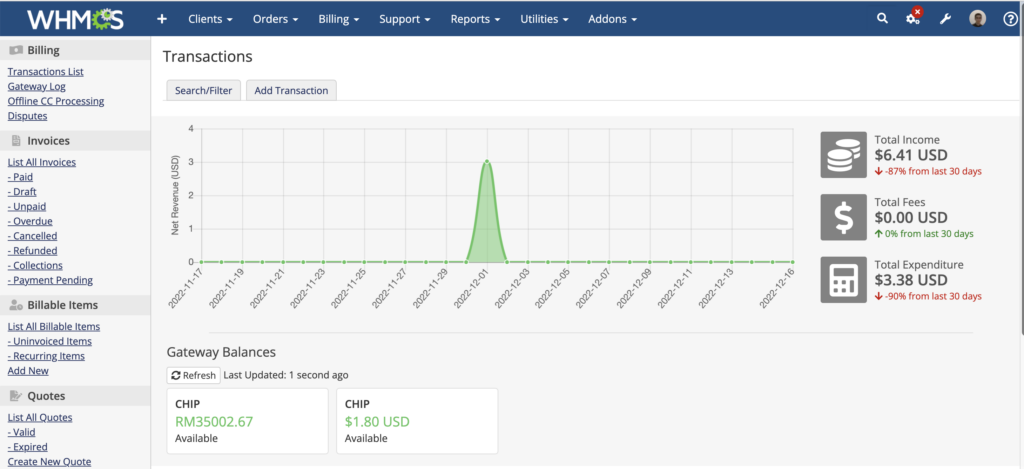
4. View the CHIP account balance via WHMCS
We also enabled a new WHMCS feature (WHMCS version 8.2 and later) in CHIP for WHMCS, where the plugin can embed the available account balance directly into the WHMCS interface.
To check your CHIP account balance, navigate to Admin >> Billing >> Transactions List.
You can find the plugin on the WHMCS Marketplace, where you can download and view the version history. Alternatively, you can also find the download link on our API page.
Be sure to test it, and don’t forget to leave a 5-star rating on our plugins!
Recommended related topic
Read: CHIP Collect – CHIP for WooCommerce: initiate refund to customer
We’re always open to content contributions from our community. Join our Facebook Group and share your work or topic ideas to potentially be featured on our blog.
Moreover, if you have suggestions for our upcoming features, we’d love to hear them! Share your Wishlist with us.
Don’t forget to like and follow us on our social media platforms if you haven’t yet. You can find us on Facebook, Twitter, Instagram, and LinkedIn. We appreciate your support! 🙂